DICOM Annotation: De-Identify and Prepare Data for AI
A DICOM annotation and data-prep guide: strip header and burned-in pixel PHI, window images for display, and store labels as DICOM-SEG, SR, or JSON.
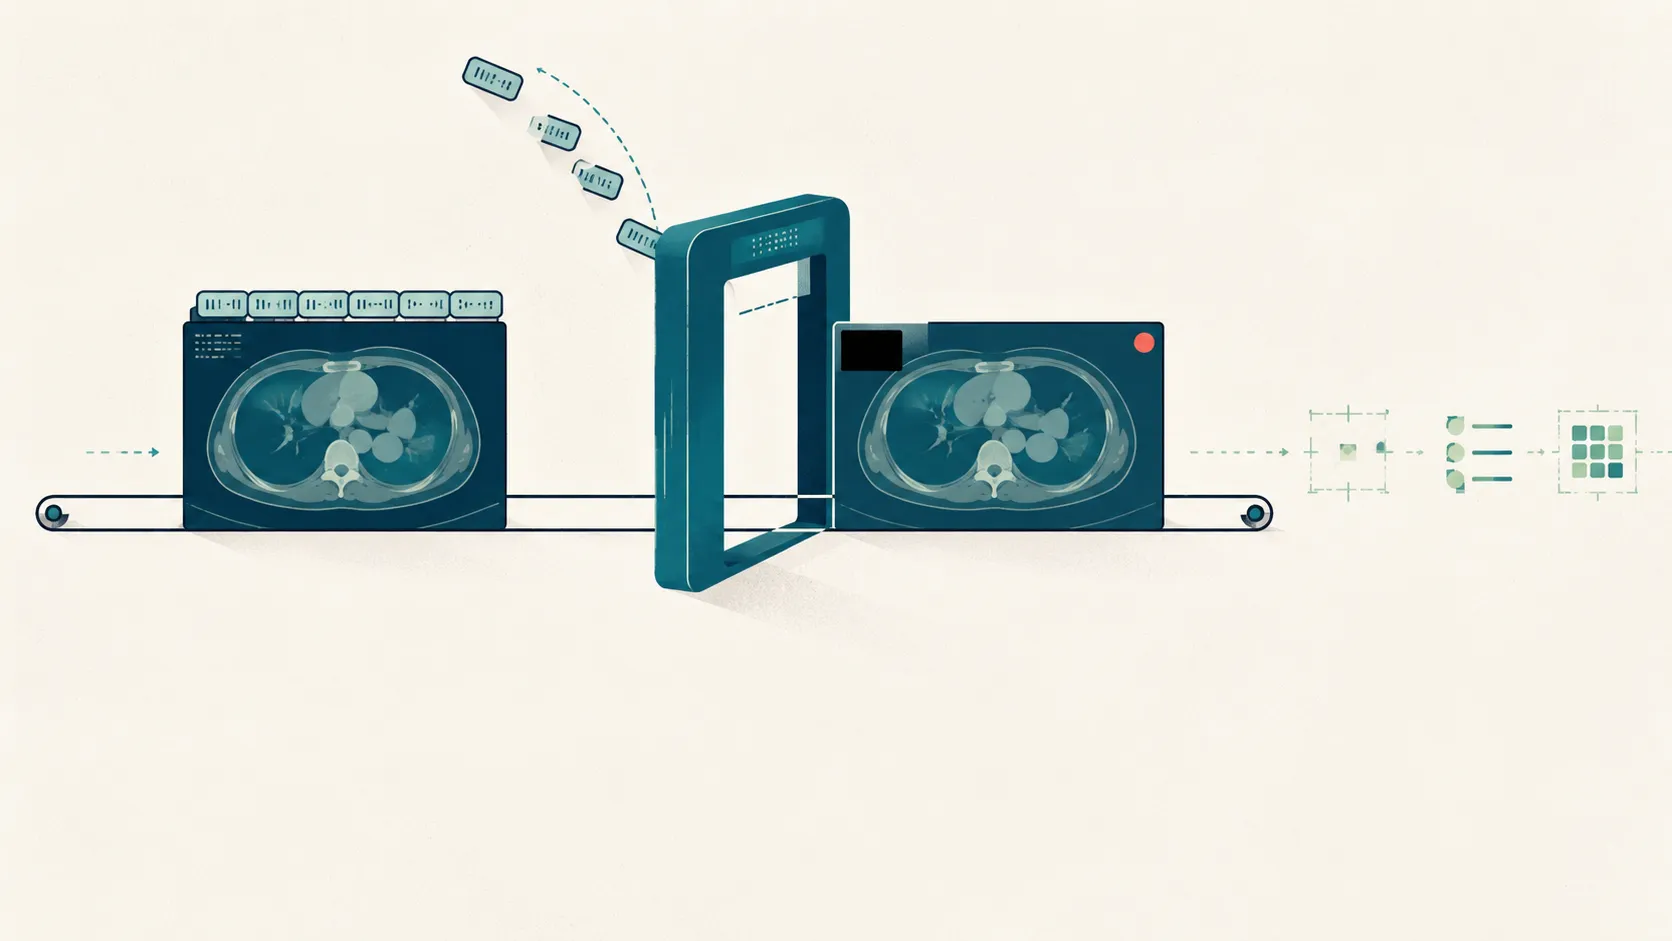
DICOM annotation is the work of attaching labels—segmentation masks, bounding boxes, measurements, or a single class per study—to medical images stored in the DICOM format, in a way a machine-learning model can actually trust. The drawing is the visible part. The part that decides whether your dataset is usable, and legal, happens before anyone marks a pixel: reading the file structure, removing patient identity from two different hiding places, and choosing how the labels will be stored.
This DICOM annotation playbook is for ML engineers, MLOps, and medical-AI teams who have a folder of .dcm files and need to turn it into a defensible labeled dataset. It sits under our medical image annotation guide and goes deep on the DICOM-specific steps that guide only summarizes. If you take one thing from it: header-only de-identification is not de-identification, and the format you store labels in decides who can reuse them.
What is DICOM, and why does its structure matter for annotation?
DICOM (Digital Imaging and Communications in Medicine) is the standard that governs how medical images are stored and exchanged, and it is far more than a pixel container. A DICOM object is a set of data elements, each identified by a numeric tag written as a (group, element) pair—for example, Patient’s Name is (0010,0010) and the pixel data itself is (7FE0,0010) (Mildenberger et al., 2002). The image is one element sitting among hundreds of metadata attributes.
Those elements are organized into Information Object Definitions and modules that describe the patient, the study, the series, the equipment, and the acquisition. This matters for annotation because the structure carries the relationships you need to preserve: which slices belong to one series, which series belong to one study, and which study belongs to one patient. Break those links carelessly during prep and you get orphaned masks that no longer point at the right volume.
It also matters because the structure is where the privacy problem starts. The same header that tells you the slice thickness also tells you the patient’s name, birth date, and accession number. You cannot annotate what you have not first made safe to look at, so the pipeline order is fixed: understand the structure, de-identify, window, annotate, then store.
What makes DICOM annotation harder than ordinary image labeling?
DICOM annotation is harder than labeling ordinary JPEGs for three structural reasons, and each one is a place teams get surprised. First, the data is often volumetric: a chest CT is a stack of slices, and a segmentation is a 3D mask across the series, not a single-image drawing. Second, pixel values are physical, not cosmetic—CT stores Hounsfield units, so the same array looks like bone or soft tissue depending only on how it is displayed. Third, identity is embedded in the file, in both the header and sometimes the pixels.
The consequence is that annotation quality depends on prep decisions the annotator never sees. If two raters label the same CT under different window settings, they are effectively looking at different images and will disagree for reasons that have nothing to do with clinical judgment. The general annotation-type trade-offs—classification versus detection versus segmentation—are covered in image annotation types explained; here the point is narrower: the file format itself injects variables you have to control before labeling.
Where does PHI hide in a DICOM file?
Protected health information hides in two separate places in a DICOM file, and forgetting the second is the single most common privacy mistake in imaging datasets. The first is the header: attributes like Patient’s Name, Patient ID, birth date, study dates, accession number, referring physician, and institution. The second is the pixel data itself—text burned directly into the image.
Burned-in pixel text is everywhere in real archives. Ultrasound frames carry a patient banner across the top, and secondary-capture images are screenshots of a workstation that included the patient panel. Scanned documents and dose-report screens embed names and IDs as pixels. None of that is in the header, so a header-scrubbing pass leaves it fully intact.
The DICOM standard draws this line explicitly. Its Basic Application Level Confidentiality Profile, which governs header attributes, states that “unless the Clean Pixel Data Option or the Clean Recognizable Visual Features Option is specified, this Profile does not address information in the pixels” (DICOM PS3.15, Annex E). In other words, the standard itself tells you that cleaning the header is only half the job.
How do you de-identify DICOM data for annotation?
You de-identify DICOM data by cleaning both places the standard defines—header attributes and burned-in pixels—and then verifying the result by hand, because automation misses cases. The header side is governed by the Basic Application Level Confidentiality Profile in DICOM PS3.15; the pixel side by the add-on Clean Pixel Data Option, which requires burned-in identifying text to be removed and then sets the Burned In Annotation attribute to “NO” (DICOM PS3.15, Annex E). Use this as a savable checklist:
- Apply the header confidentiality profile. Remove or replace the identifying attributes the Basic Profile lists—names, IDs, dates, institution, referring parties, comments.
- Remap UIDs consistently. Replace Study/Series/SOP Instance UIDs with new values, but keep the mapping consistent so slices stay grouped into the right series and study.
- Handle dates deliberately. Either remove dates or shift them by a fixed per-patient offset so intervals survive; under HIPAA Safe Harbor, date elements finer than year must go (45 CFR 164.514(b)).
- Clean burned-in pixel PHI. Apply the Clean Pixel Data Option: black out or crop regions with identifying text, then set Burned In Annotation to “NO” (DICOM PS3.15, Annex E).
- Inspect a sample by hand. Locating burned-in text automatically is unreliable, so manual review of images before release is standard practice (Willemink et al., 2020).
- Verify against a standard. Confirm the result meets HIPAA Safe Harbor’s 18-identifier removal or Expert Determination, or your GDPR anonymisation bar, before the data is treated as no longer identifiable (HHS, 2015).
The reason step 5 is not negotiable is that the tools are weaker than their labels suggest. In a controlled comparison of ten free DICOM toolkits against 50 header tags drawn from DICOM Supplement 142, only one tool de-identified all 50 by default; four others reached full removal only after custom configuration, and the rest fell short even when tuned (Aryanto et al., 2015). “Anonymize” is a button, not a promise.
The compliance framing is the same one clinical text annotation lives under. If you are also handling interview or report text alongside images, the HIPAA and de-identify-first logic in clinical transcript annotation tools applies directly: de-identify before the data reaches a cloud tool, or work under a signed agreement with a vendor that lawfully processes PHI. For that text side, our browser-based text scrubber handles transcripts and report prose—it does not touch DICOM headers or burned-in pixels, which still need the profile-driven steps above.
Why window DICOM images before annotation?
You window DICOM images before annotation because the raw stored values are not what a human should label against, and inconsistent windowing silently corrupts inter-rater agreement. A CT slice stores physical Hounsfield values across a range far wider than any screen can show at once; Window Center (0028,1050) and Window Width (0028,1051) define the linear mapping from those values to display brightness (DICOM PS3.3, C.11.2). Radiologists switch between a lung window, a soft-tissue window, and a bone window to see different structures in the same data.
For DICOM annotation, the rule is to fix the window to the task and apply it identically for every rater. If one annotator segments a lung nodule on a lung window and another uses a mediastinal window, their boundaries will diverge because the visible edge of the lesion literally moved. Preprocessing images to a consistent, task-appropriate display setting is part of preparing imaging data for machine learning, alongside resampling and intensity normalization (Willemink et al., 2020).
Windowing is also where measurement metrics can betray you if prep is sloppy. Boundary-sensitive scores like Dice, IoU, and Hausdorff distance—covered in Dice vs IoU vs Hausdorff—will report “disagreement” that is really a display artifact. Fix the window first, and the metric measures judgment instead of settings.
Storing DICOM annotation output: DICOM-SEG, DICOM-SR, or sidecar JSON?
The last DICOM annotation decision is where the labels go, and it is a genuine trade-off between interoperability and speed. Three options dominate, and the right one depends on whether the dataset needs to leave your pipeline.
| Approach | What it stores | Strength | Best when |
|---|---|---|---|
| DICOM-SEG | Pixel/voxel segmentation masks as a DICOM object that references the source images | Stays linked to patient/study/series inside the standard; PACS- and tool-portable | Masks must be shared, reused, or archived across sites and tools |
| DICOM-SR | Measurements and coded findings in a structured content tree | Machine-readable measurements with standardized codes, tied to the source | Numeric findings, quantitative imaging, or structured reporting pipelines |
| Sidecar JSON / NIfTI | Labels in a separate file keyed to the image by filename or path | Simple, git-friendly, fast to write and read in an ML pipeline | Internal, short-lived datasets where DICOM provenance doesn't need to travel |
The case for the standard objects is interoperability. DICOM Segmentation objects and DICOM Structured Reports keep an annotation bound to the exact images, patient, and study it describes, so another team—or a regulator, or a future you—can trace a mask back to its source without a fragile side-channel mapping. The open-source dcmqi library was built specifically to convert common research formats into standard DICOM-SEG and DICOM-SR, because interoperability, data sharing, and the ability to mine results all depend on that standardization (Herz et al., 2017).
The case for sidecar JSON is friction. If your labels never leave a single training pipeline, a JSON file next to each image is faster to produce and trivial to parse, and you can always convert to a DICOM object later. The mistake is treating a convenience format as an archive format: sidecars break the moment filenames change or the data moves to another site, taking your provenance with them.
A worked example: prepping one CT series for annotation
Consider a synthetic example: you receive a chest CT series—one study, 300 slices—destined for lung-nodule segmentation. The naive move is to open it in a labeling tool and start drawing. The prepared move runs the pipeline first.
You read the headers and confirm the series groups correctly, then run the header confidentiality profile to strip the patient name, ID, and dates, remapping UIDs so the 300 slices stay one coherent series. You scan the pixels for burned-in text—this CT is clean, but the prior ultrasound in the same folder had a name banner, which you black out and mark with Burned In Annotation set to “NO.” You then window every slice to a fixed lung setting so all raters see identical images.
Only now do two annotators segment the nodules independently, and you store each result as a DICOM-SEG object referencing the source series. Because the masks are standard objects, you can compute spatial agreement between the two raters directly and hand the consensus to the next team without a bespoke export. The drawing took an hour; the prep is what made the hour worth anything. For the broader pipeline this example lives inside—collect, de-identify, annotate, adjudicate, QA, export—see the medical image annotation guide.
Where Tagaroo fits, and where it doesn’t
Tagaroo is a schema-first annotation workspace: you define a coding scheme once, then tag against it—text, images, or samples—with inter-rater reliability and adjudication built into the workflow rather than bolted on. The design bet is that most annotation projects live or die on the scheme and the agreement mechanics, which is where general tools are thinnest.
Be clear about the boundary. If your job is industrial-scale voxel segmentation of DICOM volumes with specialized auto-annotation and native DICOM-SEG round-tripping, a dedicated computer-vision platform is the right call—we compare the main ones in CVAT vs Labelbox vs V7. Tagaroo’s strength is guided, schema-driven annotation against a curated taxonomy, with every label anchored to the evidence that justifies it. A well-specified coding scheme is the same discipline whether you are rating a clinical interview against the MADRS or the PHQ-9, or tagging findings on an image against a defined scheme—the curated scale is just an annotation scheme with anchored definitions and a citation trail.
On data handling, Tagaroo takes the de-identify-first path this guide argues for, rather than positioning itself as a PHI processor: its terms require you to strip direct identifiers—DICOM header fields and burned-in pixel PHI—before upload, its anonymous trial mode runs entirely in the browser so trial images never leave your machine, and the stack is EU-hosted and GDPR-oriented. It is not a medical device, and any AI pre-label is a first pass for a qualified human to review, never a diagnosis. If your project must process raw PHI in the cloud, put that question to any vendor—including this one—before uploading identifiable studies; see Tagaroo’s privacy policy for specifics.
The practical upshot
DICOM annotation is a data-preparation problem wearing a drawing problem’s clothes. Read the structure so you preserve the study relationships, de-identify both the header and the burned-in pixels and then check by hand, window every image identically so raters see the same thing, and store labels as standard DICOM-SEG or DICOM-SR objects unless a sidecar is genuinely all you need. Do that and the labels become what they were always meant to be: trustworthy ground truth a model can learn from and an auditor can trace.
Start with the coding scheme and the prep, because they decide how much you fight later. If you want a workspace that treats the annotation scheme and inter-rater reliability as first-class from the first label, explore the Scale Library or start a browser-side trial where your data never leaves your machine.
References
- Mildenberger P, Eichelberg M, Martin E. Introduction to the DICOM standard. European Radiology. 2002;12(4):920-927. doi:10.1007/s003300101100
- Willemink MJ, Koszek WA, Hardell C, et al. Preparing Medical Imaging Data for Machine Learning. Radiology. 2020;295(1):4-15. doi:10.1148/radiol.2020192224
- Aryanto KYE, Oudkerk M, van Ooijen PMA. Free DICOM de-identification tools in clinical research: functioning and safety of patient privacy. European Radiology. 2015;25(12):3685-3695. doi:10.1007/s00330-015-3794-0
- DICOM Standards Committee (NEMA). PS3.15, Annex E: Attribute Confidentiality Profiles—Basic Application Level Confidentiality Profile and Clean Pixel Data Option. dicom.nema.org
- DICOM Standards Committee (NEMA). PS3.3, Section C.11.2: VOI LUT Module (Window Center and Window Width). dicom.nema.org
- Herz C, Fillion-Robin JC, Onken M, et al. dcmqi: An Open Source Library for Standardized Communication of Quantitative Image Analysis Results Using DICOM. Cancer Research. 2017;77(21):e87-e90. doi:10.1158/0008-5472.CAN-17-0336
- U.S. Department of Health & Human Services, Office for Civil Rights. Guidance Regarding Methods for De-identification of Protected Health Information (45 CFR 164.514(a)-(b)). HHS.gov: De-identification guidance
Frequently asked questions
- Does removing the DICOM header de-identify a scan?
- No. Protected health information lives in two separate places in a DICOM file: the header attributes (patient name, ID, dates, institution, device details) and any text burned directly into the pixels—patient banners on ultrasound frames, scanned annotations, secondary-capture screenshots. The DICOM standard is explicit that its Basic Application Level Confidentiality Profile 'does not address information in the pixels' unless the separate Clean Pixel Data Option is also applied (DICOM PS3.15, Annex E). A clean header with a name still burned into the corner of the image is still identifiable.
- What is the DICOM Clean Pixel Data Option?
- The Clean Pixel Data Option is an add-on to the DICOM Basic Application Level Confidentiality Profile that requires burned-in identifying text to be removed from the pixel data itself, not just the header. The standard notes this 'may require intervention of or approval by a human operator,' and once done the Burned In Annotation attribute is set to 'NO' (DICOM PS3.15, Annex E). It exists precisely because header scrubbing leaves pixel-level PHI untouched.
- Do free DICOM de-identification tools remove all PHI by default?
- Usually not on their default settings. In a controlled comparison of ten free DICOM toolkits tested against 50 header tags from DICOM Supplement 142, only one tool removed all 50 by default; four others could reach full removal only after custom configuration (Aryanto et al., 2015). The practical lesson is to configure the profile explicitly and verify the output rather than trusting an out-of-the-box 'anonymize' button.
- Should I store medical image annotations as DICOM-SEG or JSON?
- It depends on interoperability needs. DICOM Segmentation (DICOM-SEG) objects and DICOM Structured Reports (DICOM-SR) keep labels linked to the source images, patient, and study inside the standard, which supports sharing and reuse across tools and sites; libraries such as dcmqi were built to convert research formats into these standard objects for exactly that reason (Herz et al., 2017). Sidecar JSON or NIfTI is simpler and faster for a single ML pipeline but loses that native provenance link, so it is best for internal, short-lived datasets.
- What is HIPAA Safe Harbor de-identification for medical images?
- Safe Harbor is one of two HIPAA methods for de-identifying protected health information: it requires removing 18 categories of identifiers (names, geographic detail below state level, all date elements finer than year, device identifiers, full-face images, and more) and having no actual knowledge that the remainder could identify someone (45 CFR 164.514(b); HHS de-identification guidance). For imaging, that means cleaning DICOM header identifiers and burned-in pixel text before the study is treated as no longer PHI.
Keep reading
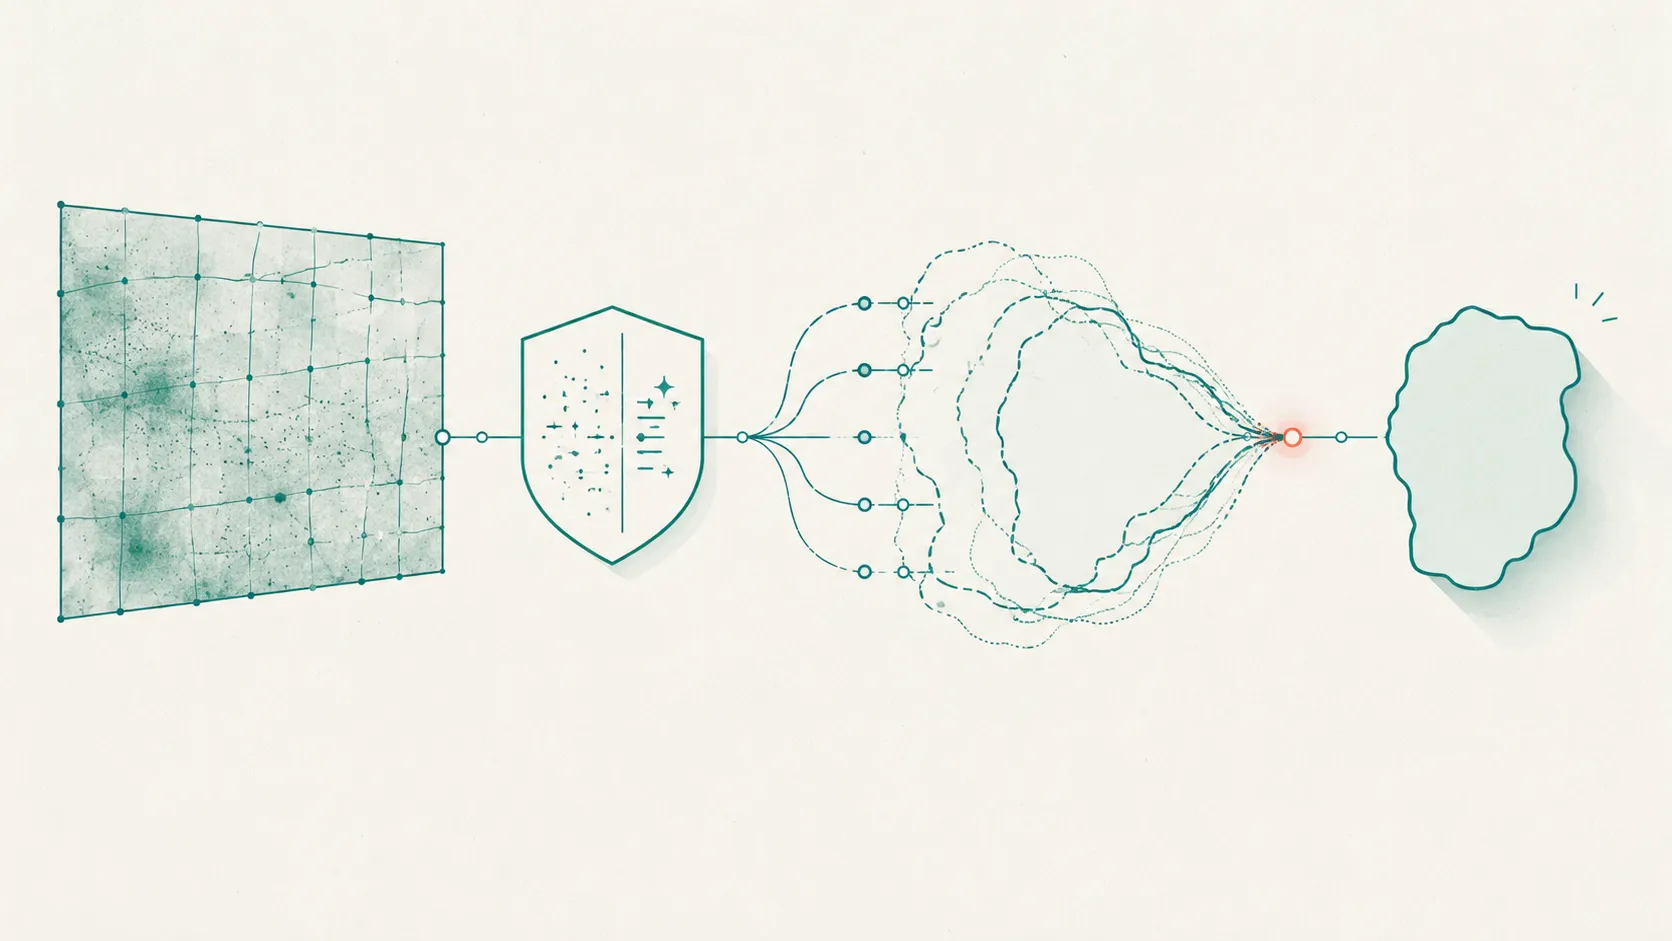 Image & Multimodal Annotation
Medical Image Annotation: A Complete Guide for AI Teams
Medical image annotation, end to end: annotation types, who should label, consensus and adjudication, DICOM de-identification, and QA tied to risk.
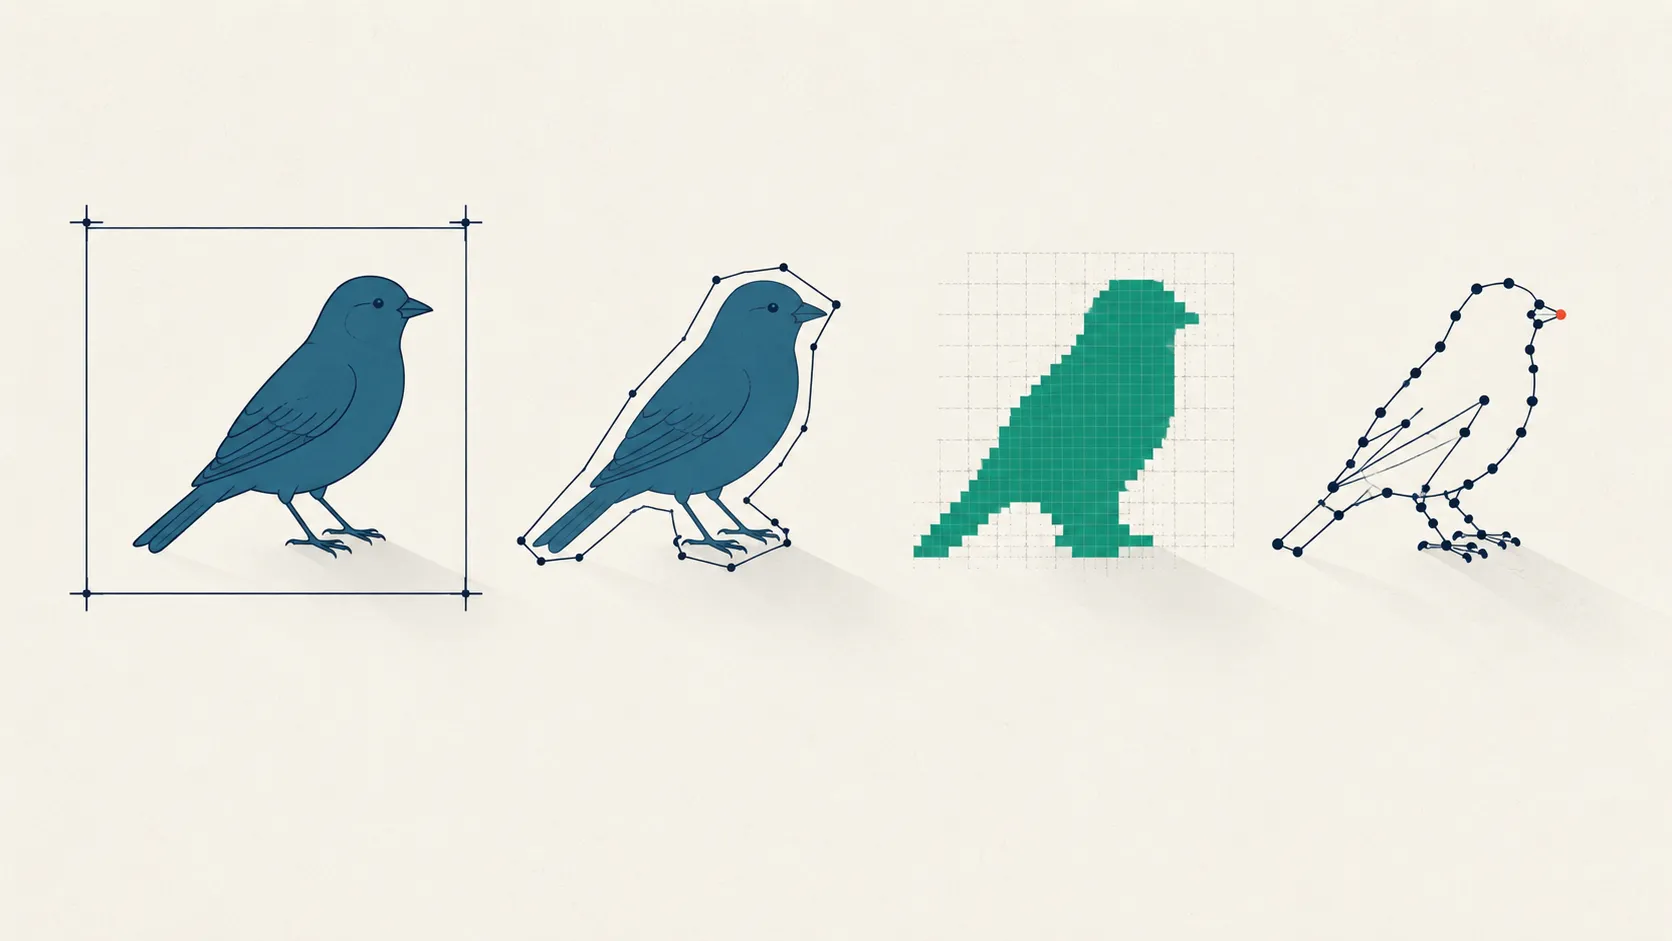 Image & Multimodal Annotation
Image Annotation Types: Cost vs Precision, Explained
Bounding box, polygon, semantic vs instance vs panoptic masks, or keypoints? Compare image annotation types by cost, precision, and downstream task.
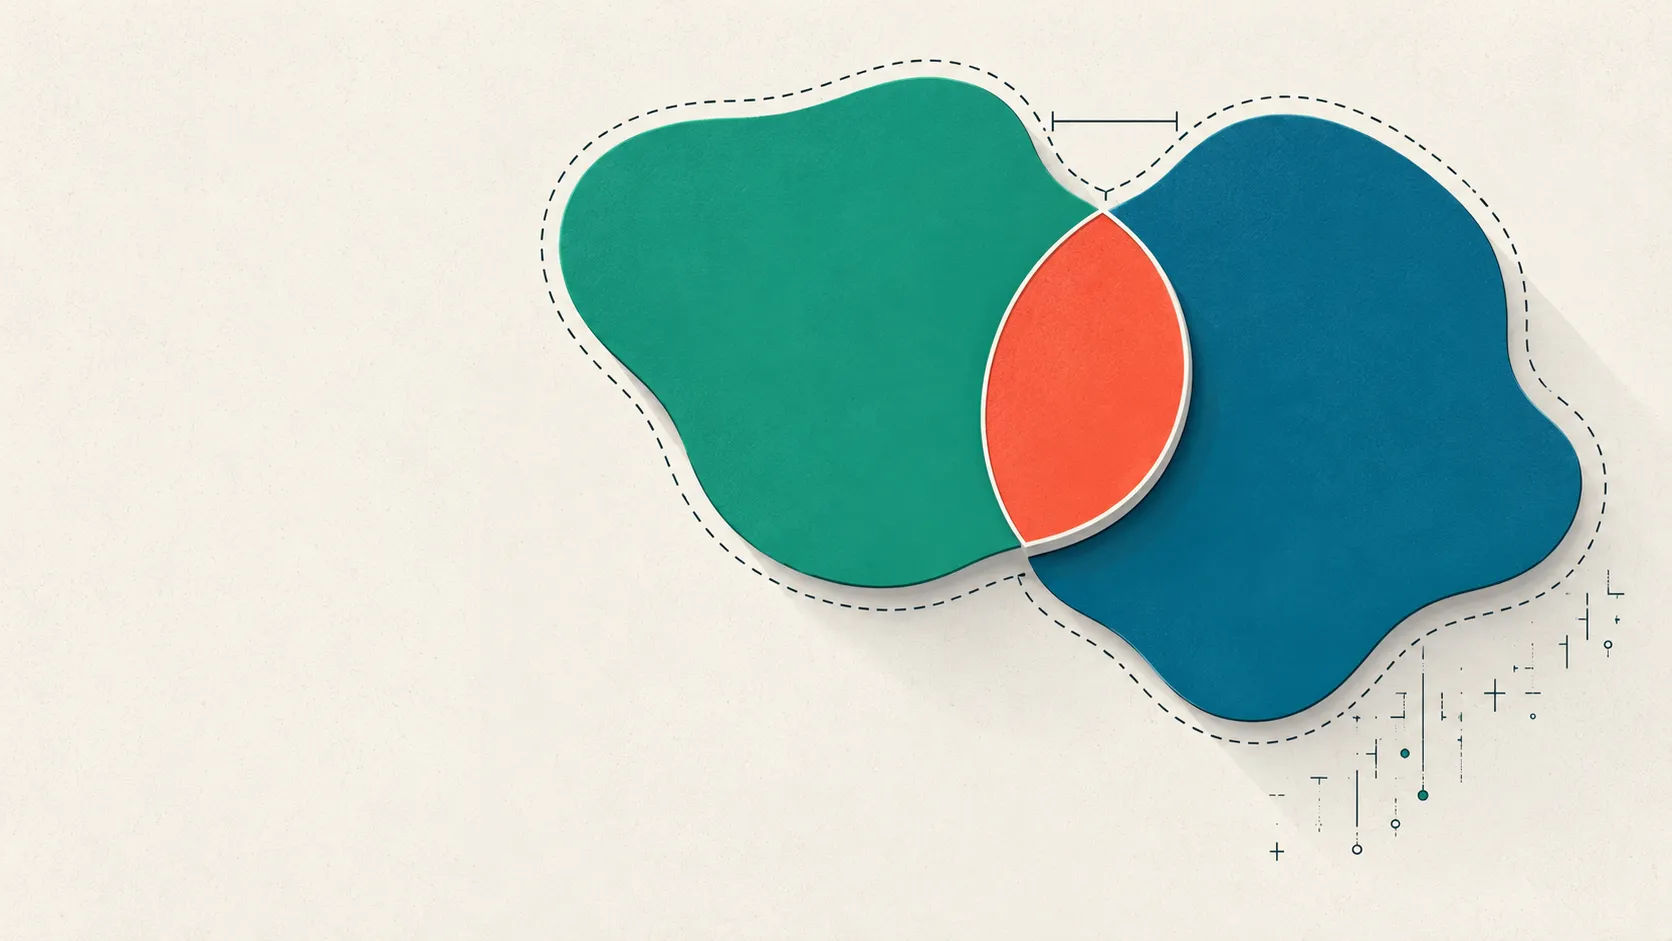 Image & Multimodal Annotation
Dice vs IoU vs Hausdorff: Segmentation Metrics Explained
Dice vs IoU, the Jaccard index, and Hausdorff distance compared: formulas, the Dice-IoU identity, and when overlap metrics mislead. See which to report.
Put this into practice
Tagaroo turns any rating scale or coding scheme into a guided annotation workflow—with inter-rater reliability computed as you go.